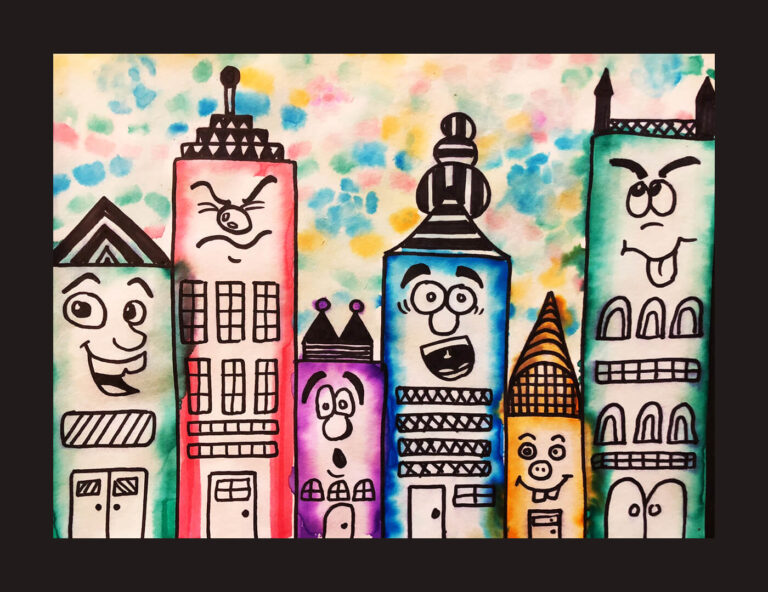
Introduction
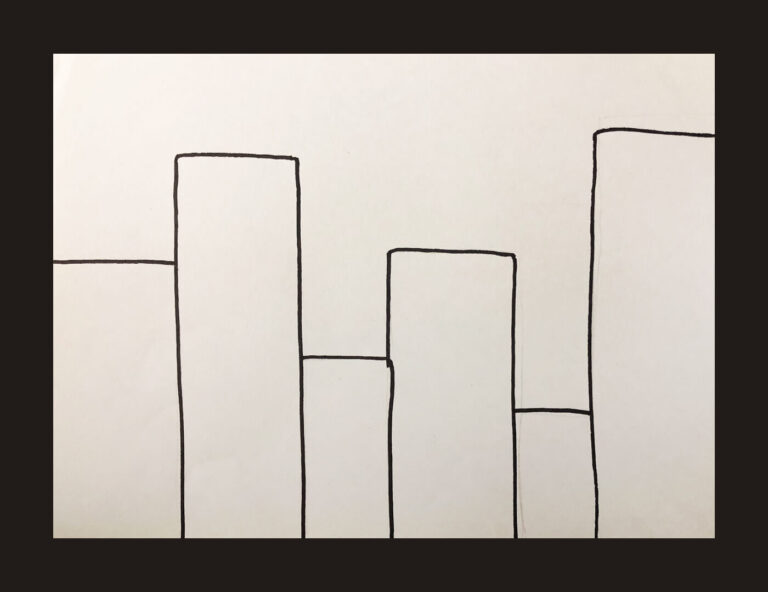
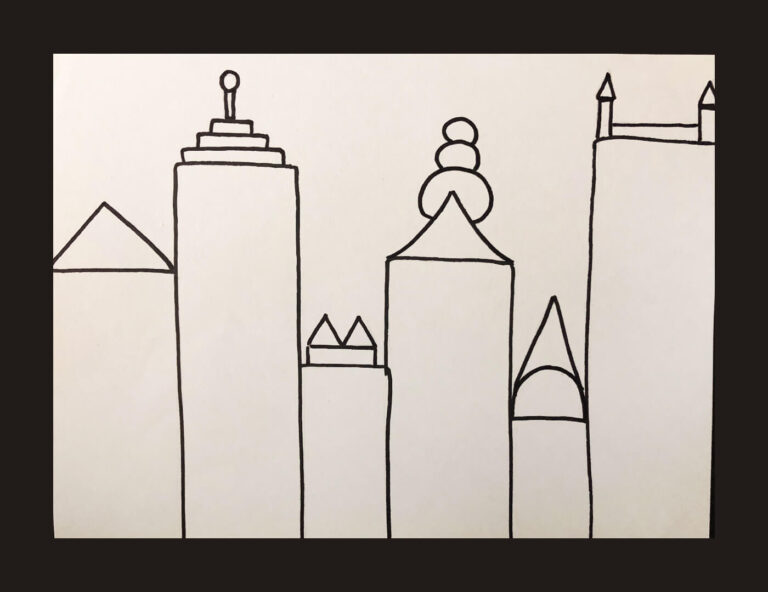
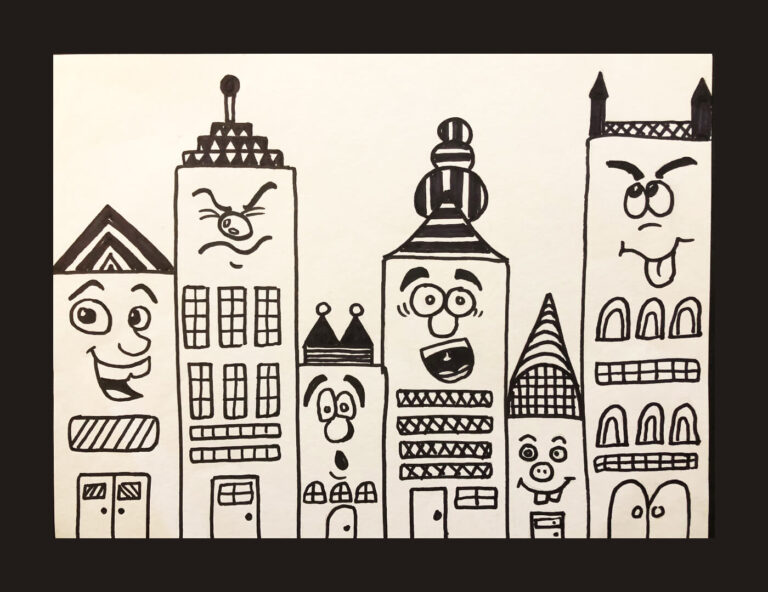
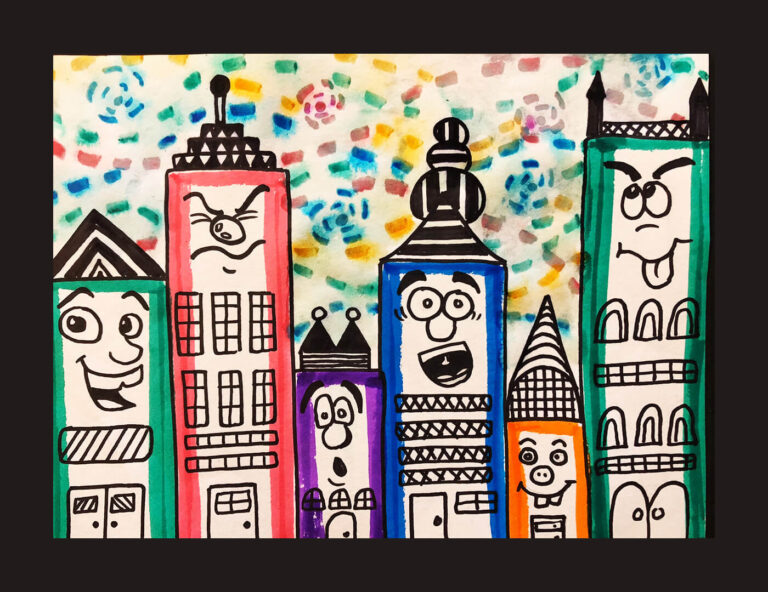
This particular artwork was inspired by James Rizzi’s Happy Cityscape artwork. James Rizzi was an American Pop Artist renowned for his use of bright bold colours and fun subject matter. The simple vertical and horizontal lines allow students to mark out an easy cityscape background of 2D shapes. Children can get very creative with adding faces, windows and doors. Whilst this artwork appears as if it was done in watercolours, it’s actually not. This technique is called ‘Marker Painting’. For this, I’ve used Crayola washable markers with the wide nib. To achieve the watercolour effect, you have to use the markers, then dip a paint brush in water and use to “paint” lightly over the marker drawing. The water will dissolve some of the marker and allow the colour to spread and bleed.
If you have washable markers at home, experiment FIRST with just drawing some thick lines and applying the water and brushing. Darker pigmented markers give better results (as I found with doing my own example). For this artwork, I’ve used the type of paper we use in class. This is called litho paper. It’s a bit thicker than your normal A4Reflex type and handles water much better. My advice is to use a thicker card or watercolour paper for this, but nothing says you can’t use normal white paper either. Just don’t oversaturate the water as it could rip the paper. If you don’t have washable markers at home, simply outline it with thick bold colour and either colour in the building faces with pencils or crayons. Too easy!
Materials
- Crayola Washable markers (or similar ones with wide nib work the best!)
- Thick paper (ie – watercolour paper, litho paper)
- Paintbrush
- Black sharpie (permanent texta)
- Lead pencil, rubber
Step 1
Step 2
Step 3

Step 4
Step 5

Step 6
Step 7