Introduction
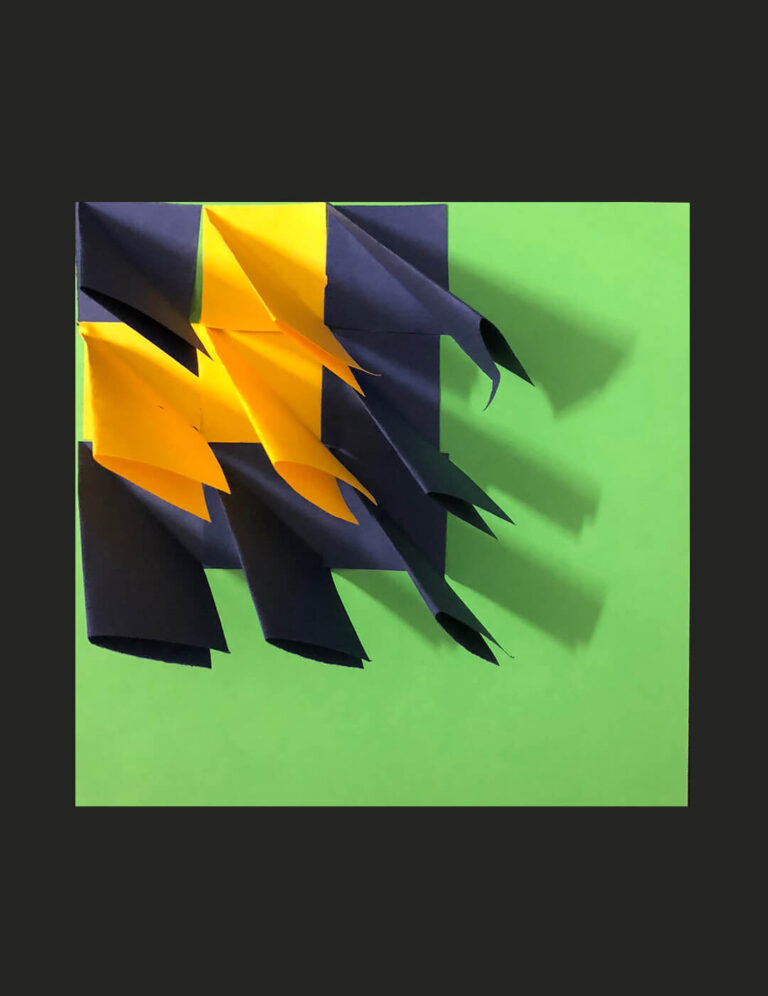
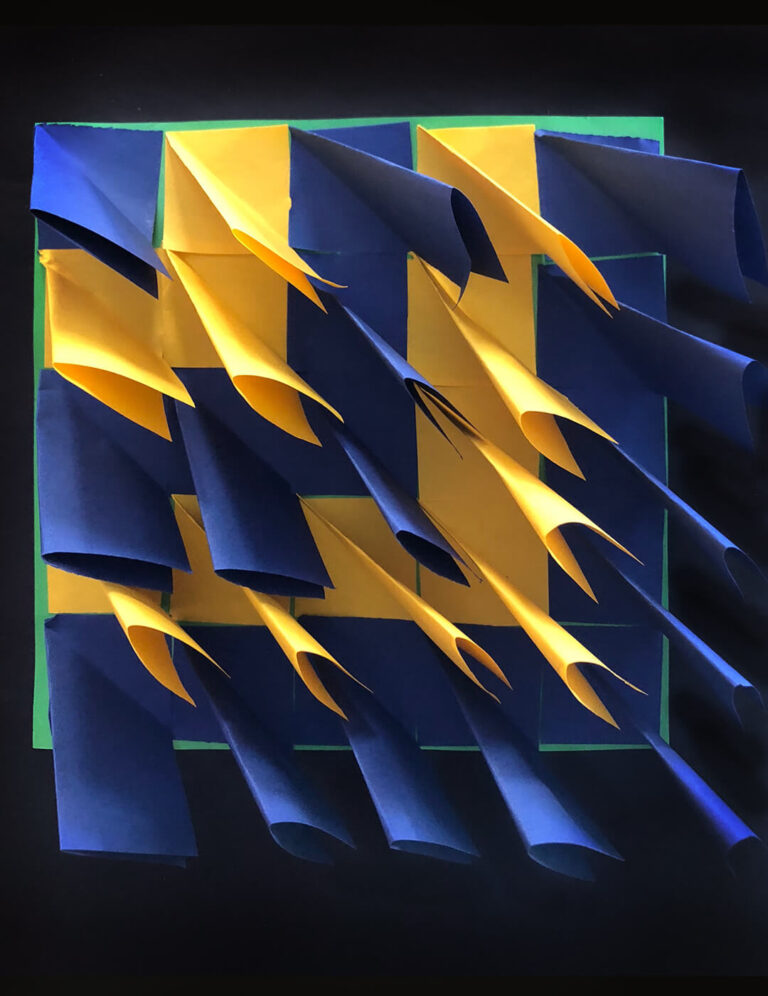
For the students who love origami and paper folding, this one is for you. The results can be visually impressive and so colourful. This paper relief sculpture is a 3-dimensional work as it’s a piece that can be seen from all sides. Once children have learned the simple folding technique, then they can play with colour, symmetry and composition. The example shown in the step by step process is a very simple one. One they get the hang of that, they can progress to more advanced arrangements. There is a bit of preparation work for this and maybe Mums and Dads might have to help but that’s ok. They can do it with you.
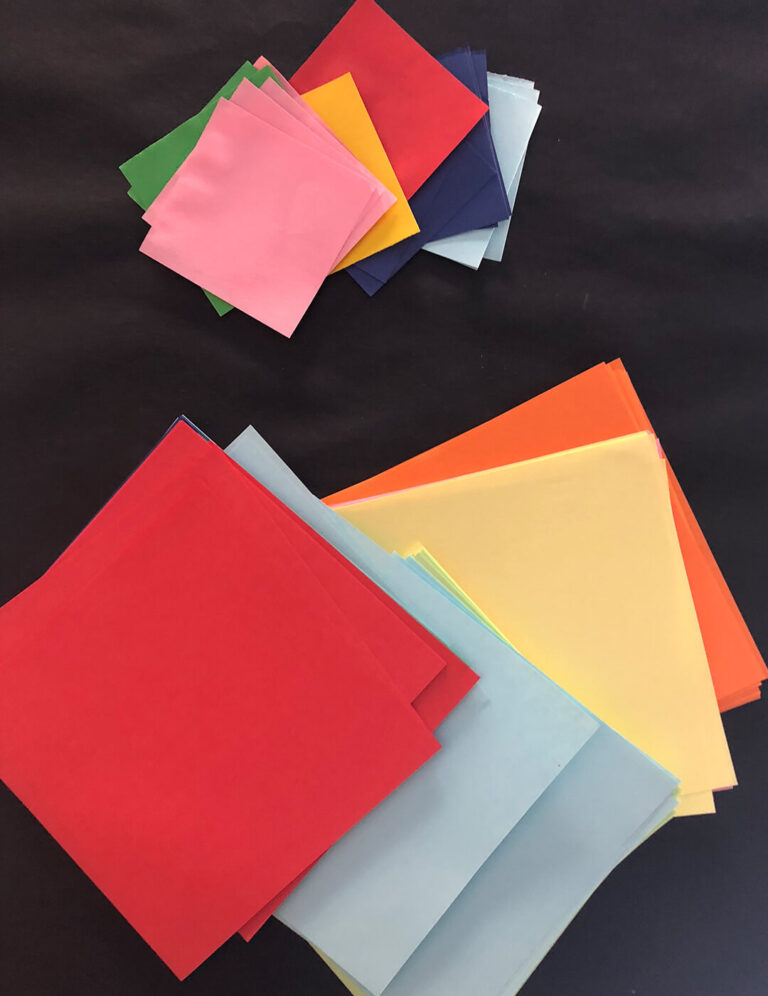
I’ve used pre-cut square paper for my background (12x12cm) Then I used smaller squares (6x6cm) for the darts. But here’s a hint – try using post-it notes. The smaller sizes work better.They are already pre-cut to the perfect square and they have the sticky bit on the back so they will stick easily. Have a few different colours on hand to use to create interest and effects. The sky is the limit. Have fun!
Materials
- Square background (12x12cm) or similar
- Small coloured squares (6×6) or similar
- Scissors (just in case you need to cut your own squares)
- Glue stick
Step 1
Step 2

Step 3
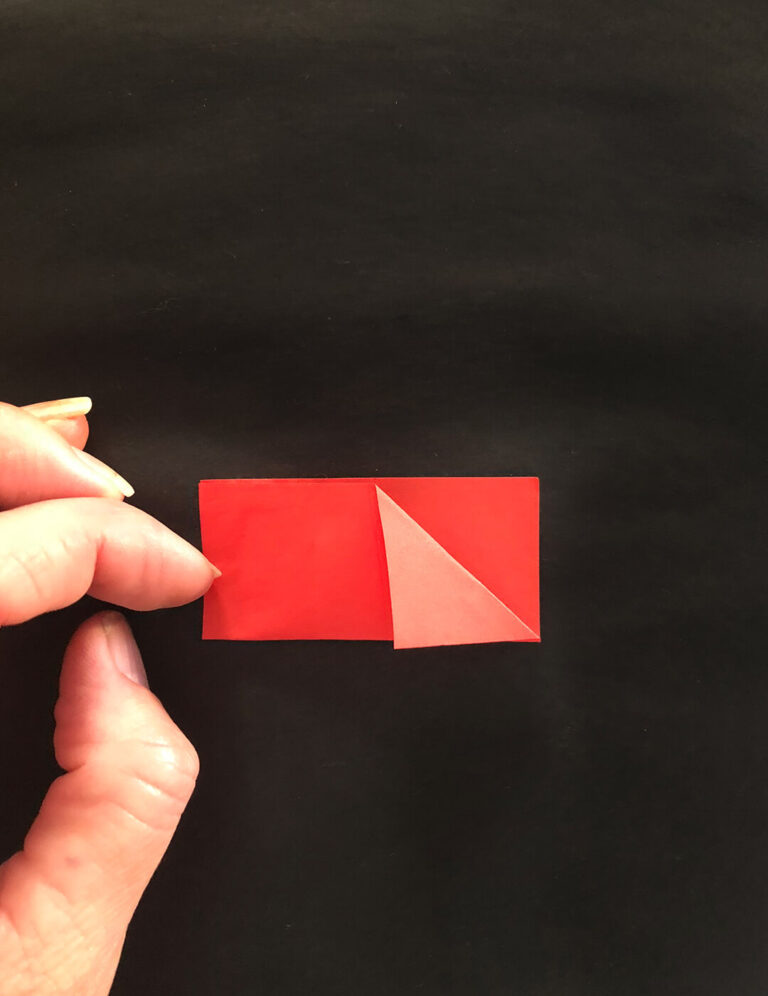
Step 4
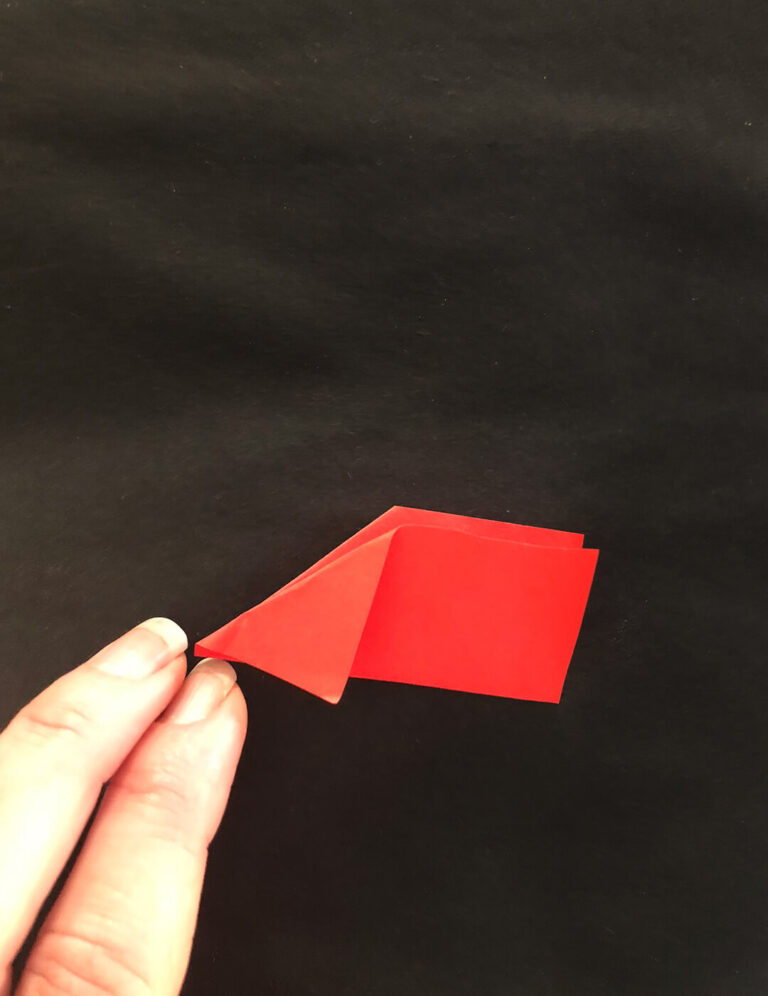
Turn the paper around and repeat to fold down the other corner.
Step 5

Step 6
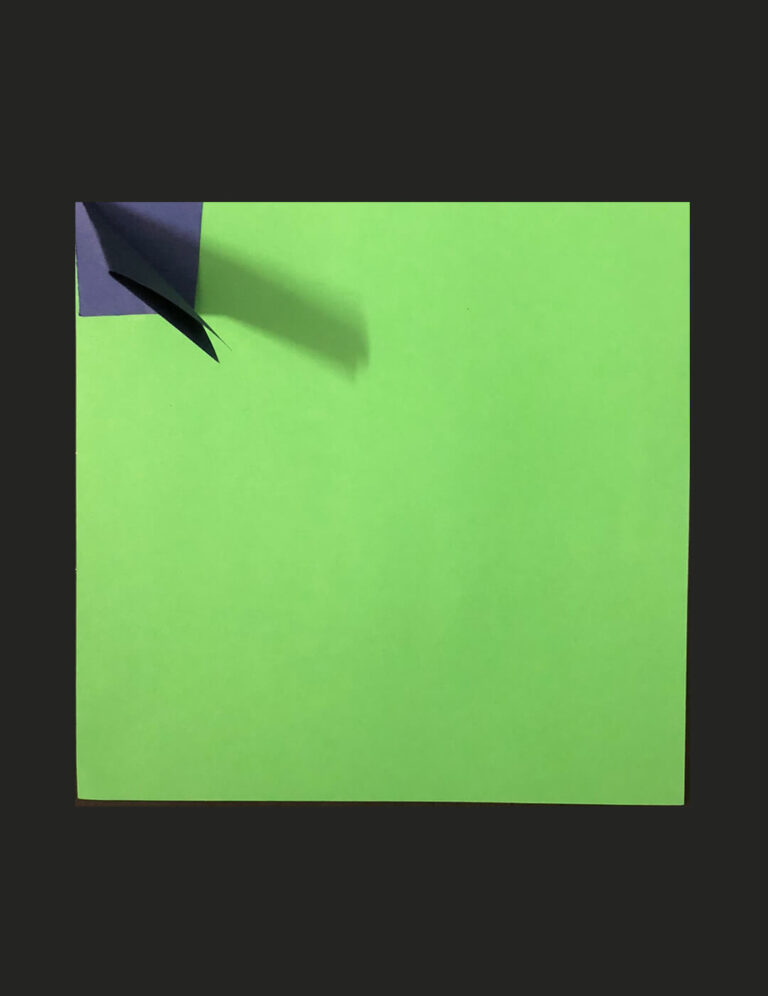
Step 7
Step 8
Special Notes
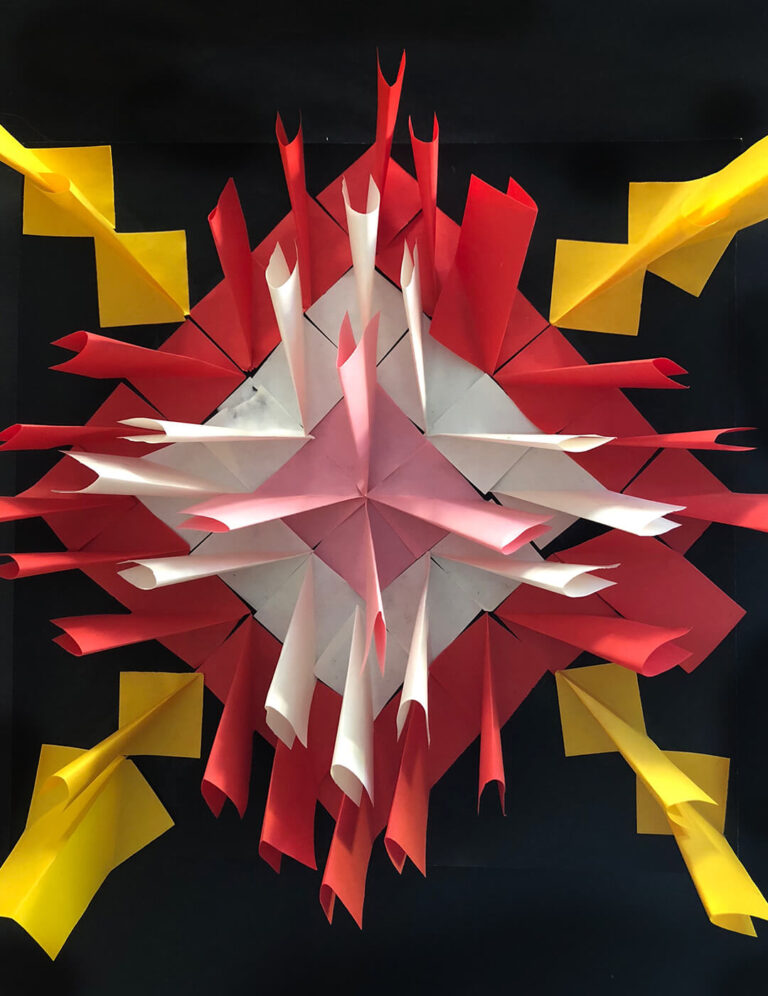

Try creating different sized versions and pairing them up!


